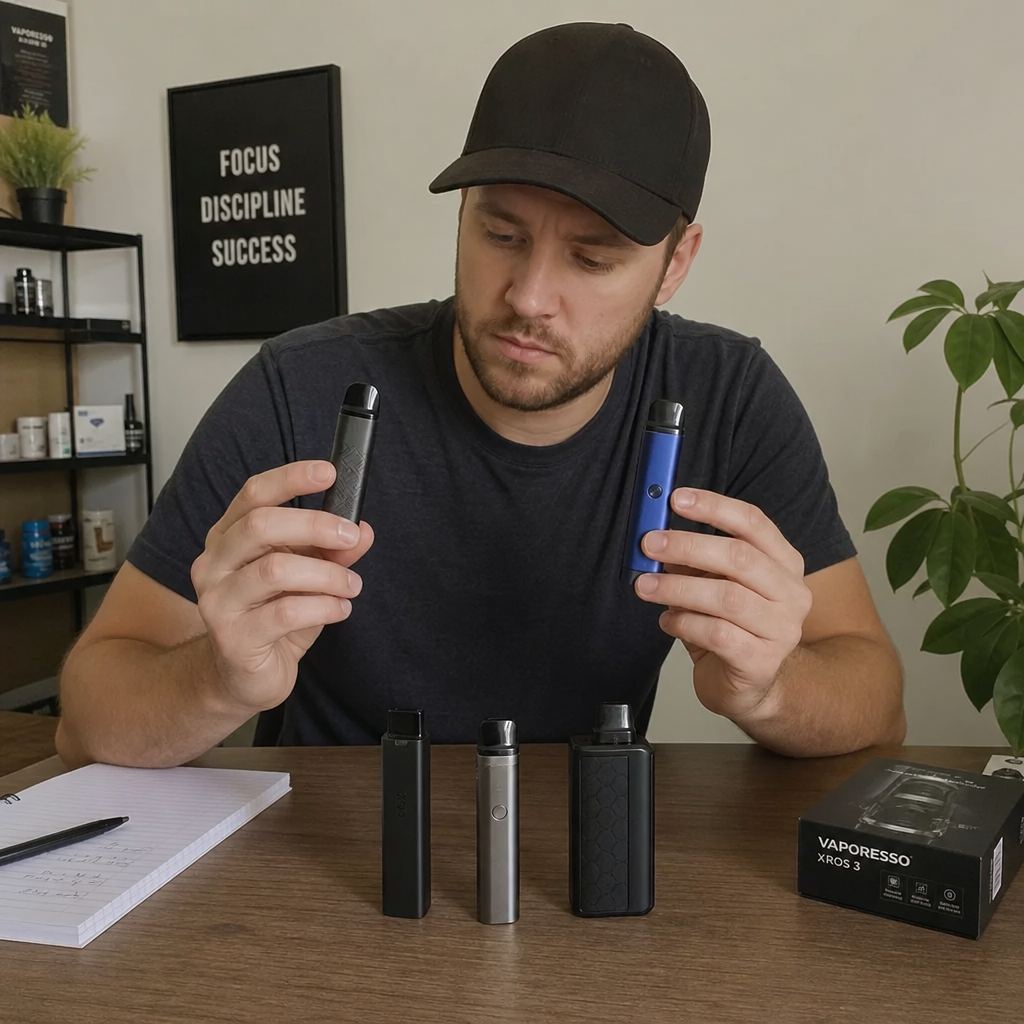

Do this quick test. Fill your tank with a brand-new flavour, take a puff, and ask yourself one honest question: can you actually taste it, or are you tasting a ghost of everything you vaped last week? If the answer is the ghost, your device is not broken. It is dirty.
Most vapers never clean their gear. They throw away coils that still had life in them and retire tanks that only needed ten minutes at the sink. This guide fixes that, with exact steps for refillable pods, sub-ohm tanks, coils and drip tips, the honest limits of coil cleaning, the mistakes that kill devices, and a maintenance rhythm you can actually stick to.
Your vape is already telling you it needs a wash
Dirty hardware sends warning signs long before it gives up. Watch for these four:
Flavour ghosting. Old juice residue clings to the tank walls, the chimney and the wick. Fill a menthol after a week of dessert flavours and you will taste both, with neither doing the other any favours. Sweet, dark liquids are the worst offenders; they leave sticky sugars that bake onto surfaces with heat.
Muted vapour and tight draw. Condensation and stray liquid collect in the airflow channels and around the base. As the gunk builds, the draw tightens and vapour output drops. Many people mistake this for a dying coil and buy a new one. Sometimes a clean fixes it for free.
Leaking and gurgling. Residue around seals, threads and the fill port stops parts seating properly. A five-second wipe of the threading often cures the mystery leak that made you carry your device in a tissue.
Hygiene. The drip tip lives in your mouth, your pocket and sometimes the bottom of a bag. Pocket lint, dust and dried saliva collect in and around it. If your mouthpiece tastes like your jeans, that is why.
A clean vape tastes better, vapes smoother and stretches every coil further. Once the grime is gone, whatever is left is a genuine fault.
First, identify your hardware (the rules change)
Cleaning advice goes wrong when it treats every device the same. Yours falls into one of three camps.
Refillable pod systems. A small magnetic pod clicks into a battery body. The pod itself often holds a built-in coil. These need the lightest touch: mostly wiping, not washing.
Sub-ohm tanks on box mods. A glass tank with replaceable coil heads screwed onto a mod. These reward a proper teardown: lots of parts, lots of residue, and a real difference after a deep clean.
Sealed disposables. The whole device, including the coil and liquid, is one closed unit. There is nothing inside to clean, and opening one is dangerous. Maintenance here means wiping the mouthpiece and the charging contacts, nothing more. If you mainly use sealed devices, our guide to the best disposable vapes matters more to you than anything in this article.
Everything below assumes a refillable device. If you own one, keep reading.
The refillable pod routine: wipe, do not soak
Pod systems are sealed enough that water is rarely your friend. The enemy is condensation: tiny droplets that form where vapour meets cooler metal, gathering in the pod slot, on the contacts and around the base of the pod. Left alone, it weakens the magnetic connection, causes misfires and leaks into the battery body.
Do this every couple of days, or whenever you notice moisture:
- Pull the pod out and set the battery body aside, screen and charging port facing up.
- Wipe the pod slot with a dry cotton swab or a twisted corner of tissue. Get into the corners where the magnets sit.
- Wipe the pod’s base and contacts the same way. If you see sticky residue, barely dampen the swab with water, wipe, then immediately dry it.
- Check the fill port. Refillable pods collect dried liquid around the silicone plug. A quick wipe stops it creeping onto your hands and the device.
- Shake, do not blow. If the pod gurgles, hold a tissue over the mouthpiece and give it a gentle shake.
Rinsing a refillable pod under the tap is a last resort, and only if the pod has no built-in coil and you can dry it completely. Most modern pods have integrated coils, and water inside a used coil creates exactly the problem you are trying to solve. When a pod tastes burnt or the draw stays tight after cleaning, the pod is finished. Replace it.
The sub-ohm tank deep clean: the full teardown
Tanks hold the most liquid and collect the most residue, so they deserve the most thorough treatment. Do this once a week if you vape daily, or every time you switch flavour families. It takes about ten minutes plus drying time.
What you need: warm water, a small bowl, paper towels or a clean cloth, cotton swabs, and optionally a soft brush like an old toothbrush. Keep soap out of it for now; you will see why in the forbidden list.
- Disassemble everything. Unscrew the tank from the mod. Remove the drip tip, the top cap, the glass tube, the coil head and the base. Lay every part on a paper towel. This is also your chance to inspect the O-rings for cracks or flat spots that cause leaks.
- Discard leftover liquid. Pour out any remaining juice. Do not pour it back into the bottle; once it has sat in a used tank it carries flavour residue and tiny contaminants.
- Rinse the tank parts. Run every part except the coil under warm, not hot, water. The glass, chimney, top cap, base and drip tip can all be rinsed. Use the soft brush on the threading and inside the chimney where dark buildup hides.
- Soak the stubborn stuff. If the glass or metal still feels sticky, leave the parts in a bowl of warm water for fifteen to twenty minutes. This dissolves caramelised residue without chemicals.
- Swab the details. Cotton swabs get into the airflow slots, the 510 threading at the base and the inside of the drip tip. These are the spots rinsing misses and the spots that most affect performance.
- Dry completely. Shake off excess water, pat each part with a paper towel, then leave everything on a clean towel to air dry. This is the step people rush, and it is the most important one. Water trapped in the threading or chimney will dilute your first fill and can cause gurgling or spitback.
- Reassemble and prime. Screw everything back together with the O-rings seated flat. Fit a fresh or rinsed coil, fill the tank, and wait five to ten minutes so the wick soaks through before you fire it. Skipping the wait burns cotton, and no cleaning fixes that.
One pro habit: when you remove the glass tube, run your finger along its inside. If it squeaks, it is clean. If it feels slick, it needs another rinse.
The coil question: rinse or replace?
This is the part most guides fudge, so here is the honest version. A coil is a consumable. The cotton wick chars and the wire collects residue with every puff, and no cleaning restores a coil to new. That said, cleaning can buy you time, and knowing the difference saves real money.
When rinsing works. If a coil is a few days old, the flavour is fading but not burnt, and you are switching flavours, a rinse can extend its life by several days. Remove the coil, run warm water through it from both ends to push old liquid out of the wick, then let it dry for at least 24 hours. Some vapers soak it in cheap unflavoured PG or vodka for an hour first, then rinse; both dissolve residue better than water alone. Air dry fully before reusing. Firing a damp coil is how you get the dreaded metallic taste.
When rinsing is pointless. Mesh coils, the flat honeycomb strips in most modern sub-ohm tanks, do not respond to cleaning. The mesh is too fine to scrub and too delicate to survive soaking; a rinsed mesh coil performs worse than a dirty one. The same goes for any coil that has been run dry, fired while damp, or used with very sweet liquids for two weeks straight. The gunk is baked into the metal at that point.
The real rule: clean coils to switch flavours, replace coils to fix performance. A new coil costs less than the liquid you will waste chasing a dead one.
The drip tip: the part everyone forgets
The drip tip is the smallest part of your kit and the dirtiest relative to its size. It is also the part that touches your mouth dozens of times a day. Give it thirty seconds of attention:
- Daily: wipe the outside and the bore (the hole through the middle) with a tissue or a dry cloth. Pull a twisted tissue through the bore to clear condensation.
- Weekly: remove it and rinse under warm water. For a deeper clean, soak it for ten minutes, then air dry. This is the one part where a tiny drop of mild dish soap is acceptable, provided you rinse it thoroughly. Soap residue tastes foul and is not something you want to inhale.
- Shared devices: if anyone else uses your vape, treat the drip tip like a toothbrush and clean it before and after. Keep a spare; they cost very little.
On a sealed disposable, the mouthpiece is the only part you can maintain. A wipe keeps it pleasant, but as the device in our SBX review shows, nothing you do to the outside fixes a stale disposable on the inside.
Six things never to do to your vape
Cleaning done wrong is worse than no cleaning at all. These are the mistakes that actually kill devices:
- Do not let water near the battery or mod. Tanks and pods can be rinsed; electronics cannot. Wipe the mod body and battery contacts with a dry cloth only. A damp swab on the outside of the 510 connection is the absolute limit, and it must be dried immediately.
- Do not use soap on the tank. Dish soap leaves a film that survives rinsing, and the first vape after a soapy wash tastes like a kitchen sink. Warm water and patience dissolve everything soap would, without the residue. The drip tip is the one exception.
- Do not soak rubber O-rings in alcohol or vinegar. Isopropyl alcohol and vinegar cut through grime, but they also dry out and crack rubber seals, which then leak. Stick to water for sealed parts.
- Do not reassemble while damp. Moisture in the chimney causes gurgling and spitback. Moisture on the coil’s threads weakens the electrical connection. Moisture anywhere near the battery is a safety issue. Air dry everything, then give it another ten minutes.
- Do not use metal tools on threads or glass. A straightened paperclip feels clever for clearing airflow holes until it scratches the threading and the tank never seals properly again. Use wooden toothpicks, cotton swabs or a soft brush instead.
- Do not boil anything. Boiling water warps plastic tanks, melts glue, destroys O-rings and can crack glass through thermal shock. Warm water from the tap is all you ever need.
The cleaning rhythm: what, how, and how often
Consistency beats intensity. A two-minute wipe every few days prevents the kind of baked-on grime that demands a twenty-minute rescue. Here is the full schedule in one place:
| Part of your kit | What to do | How often |
|---|---|---|
| Refillable pod shell | Warm water rinse, air dry completely | Every 2 to 3 refills |
| Pod slot and contacts | Dry cotton swab, check for condensation | Every 2 to 3 days |
| Drip tip or mouthpiece | Rinse under warm water, or wipe the bore | Daily wipe, weekly rinse |
| Sub-ohm tank body | Full teardown, rinse, swab, air dry | Weekly, or with each flavour change |
| Coil head | Rinse to switch flavours, replace when tired | Replace every 1 to 2 weeks |
| Threads and airflow slots | Dry cotton swab or soft brush | Every coil change |
| Mod body and battery contacts | Dry cloth only, never liquid | Weekly |
Stick this rhythm on your fridge if you need to. Two minutes of prevention is worth a burnt coil.
The flavour-switch shortcut: the two-minute rinse
You do not need a full teardown every time you fancy a change. When moving between similar flavours, say one fruit to another, a shortcut works fine:
- Vape the tank down until it is nearly empty.
- Remove the coil and set it aside on a paper towel.
- Rinse the tank parts under warm water and shake dry.
- Refit the same coil, fill with the new flavour, and prime for five minutes.
The first puffs may carry a whisper of the old flavour, but it fades fast. Reserve the full clean for jumps between flavour families, like tobacco to menthol, where ghosting is impossible to miss. And if you rotate flavours constantly, it pays to know the real cost of the hobby: our vape juice prices breakdown shows how quickly the bottles add up.
When cleaning will not save it
Sometimes the honest answer is a replacement. Cleaning cannot fix:
- A burnt coil. That acrid, charcoal taste means the cotton is scorched. No rinse, soak or prayer un-burns cotton. Replace the coil or pod.
- Cracked glass or warped plastic. A damaged tank will not seal, and cleaning around a crack just wastes time.
- Dead O-rings. If the seals are flattened, nicked or perished, leaks will continue regardless of cleanliness. Buy a seal kit or a new tank.
- A stale sealed disposable. When a disposable tastes flat or burnt, its internal coil is done. As with the sealed units in our Geek Bar Pulse X review, there is no cleaning step that brings it back. Replace the device responsibly.
Knowing when to stop is part of maintenance. The goal is a vape that tastes like it should, not a museum piece.
The thirty-second version
If you take nothing else from this guide, take this. Wipe your pod slot and contacts every few days. Rinse your tank weekly. Clean your drip tip because it goes in your mouth. Never let water touch the battery. Replace the coil when it burns instead of fighting it. Small habits, done often, so the big clean never becomes necessary.
For more ways to keep your kit performing at its best, keep exploring the VapeFeat homepage for fresh guides every week.